In the digital age, capturing moments on your laptop screen has become an essential skill. Whether you want to save important information, share a funny meme, or report a technical issue, knowing how to take a screenshot in a laptop is a fundamental skill. In this article, we’ll guide you through the various methods available on different operating systems, ensuring you know how to take screenshot in laptop.
1. Print Screen (PrtScn) Key Method
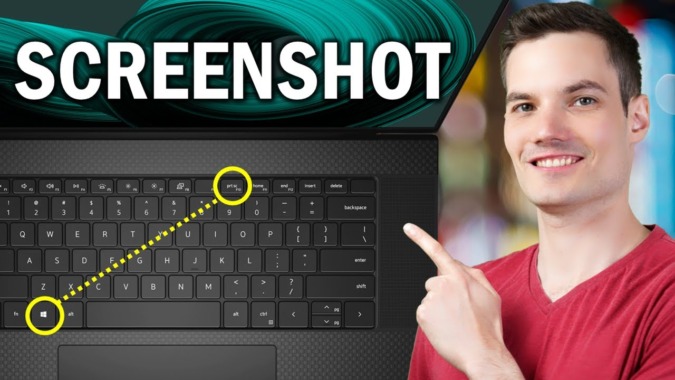
One of the most common and straightforward ways to take a screenshot in a laptop is by using the “Print Screen” or “PrtScn” key. Located usually in the top row of your keyboard, pressing this key captures the entire screen. To take a screenshot in laptop using this method, simply press “PrtScn” and paste the captured image into an image editor or document using “Ctrl + V.”
Read: How To Get Rid of Malware
2. Alt + Print Screen Method
For those who want to capture only the active window, combining the “Alt” key with “Print Screen” is the way to go. This method is especially handy when you have multiple windows open and want to focus on a specific one. After pressing “Alt + PrtScn,” paste the screenshot as previously mentioned.
Read: How To Get Free Wi-Fi
3. Windows Snipping Tool
If you’re using a Windows laptop, another great option is the Snipping Tool. Simply search for “Snipping Tool” in the Start menu, open the tool, and choose the type of screenshot you want to take – whether it’s a free-form snip or a rectangular one. This method provides more flexibility in capturing specific areas.
Read: Lesser-Known Features of Windows 11
4. Snip & Sketch (Windows 10 and above)
For Windows 10 users, the Snip & Sketch tool is an even more advanced option. Press “Windows + Shift + S” to activate the tool, then select the area you want to capture. The screenshot is copied to your clipboard, ready to be pasted wherever you need it.
5. MacOS Shortcut
Mac users, fear not! Taking a screenshot in a MacBook is as easy as pie. Press “Command + Shift + 3” to capture the entire screen or “Command + Shift + 4” to select a specific area. Your screenshot will be saved on your desktop.
Read: How To Use ChatGPT App

6. Snipping Tool on MacOS
Similar to Windows, MacOS also comes with a built-in snipping tool. Open the “Grab” application, located in the Utilities folder, to take screenshots with precision. Select your preferred capture mode and let Grab do the rest.
7. Third-Party Applications
If you want even more features and flexibility, consider using third-party applications. Tools like Snagit, Lightshot, and Greenshot offer advanced screenshot functionalities, including editing options and cloud integration.
8. Use the Built-in Snipping Tool in Linux
Linux users are not left behind in the screenshot game. Many Linux distributions come with a built-in snipping tool, such as “Ksnip” or “Shutter.” Explore your system to find the tool that suits your needs.
In conclusion, learning how to take screenshot in laptop is a valuable skill that enhances your ability to capture and share information. Whether you’re a Windows, MacOS, or Linux user, there are multiple methods and tools available to cater to your specific needs. So, go ahead, practice these techniques, and become a screenshot maestro in the digital world. Happy capturing!

